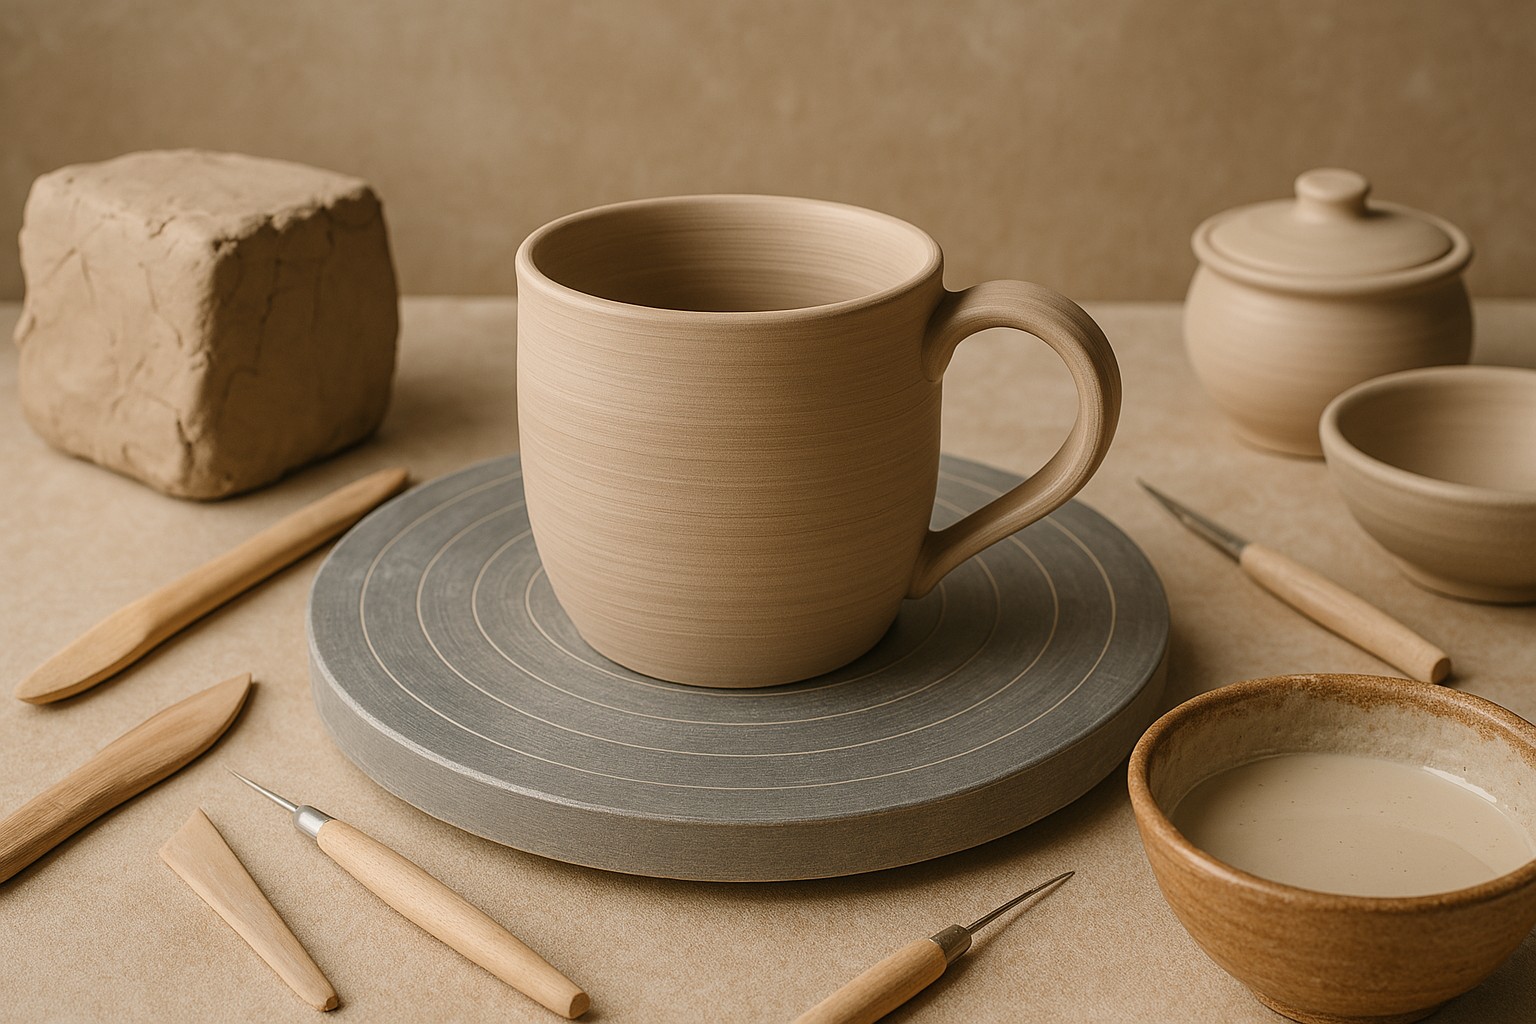
Creating a ceramic mug is much more than shaping clay—it’s a dialogue between earth, fire, and imagination. Each step, from clay selection to final glazing, invites both technical skill and artistic sensitivity. Whether you’re a hobbyist or a seasoned creative, this guide walks through the complete process, with thoughtful detail at every stage
1️⃣ Choosing the Right Type of Clay
The foundation of any ceramic project begins with selecting the right clay. Your choice impacts not just the mug’s appearance and texture but its durability and functionality.
🧱 Types of Clay Commonly Used
- Earthenware
- Fires at lower temperatures (around 1000°C to 1150°C)
- Porous, warm-colored, and somewhat less durable
- Good for decorative mugs but requires glazing for waterproofing
- Stoneware
- Fires at mid to high temperatures (1200°C to 1300°C)
- Dense and nonporous
- Ideal for functional mugs: tough, heat-resistant, and dishwasher safe
- Porcelain
- High-fired (around 1300°C and above)
- Smooth and translucent when thin
- Challenges shaping but results in elegant, refined pieces
🔍 Tip: For beginner-friendly durability and aesthetics, stoneware often strikes the perfect balance.
2️⃣ Wedging: Preparing the Clay
Before shaping begins, clay must be wedged to remove air bubbles and align its particles, which improves strength and plasticity.
👊 Techniques for Wedging
- Spiral wedging: Involves twisting the clay in a continuous motion, commonly used with porcelain.
- Ram’s head wedging: More common for stoneware and earthenware, with a push-turn-pull sequence.
This step may seem tedious, but skipping it can result in cracks or explosions during firing.
3️⃣ Forming and Shaping Techniques
This is where artistry takes the wheel. The form of a mug must combine both functionality—holding liquids, fitting the hand—and expression.
✋ Hand-Building Techniques
- Pinching: Starting with a ball of clay, gradually opening it with your thumb and fingers.
- Coiling: Rolling out snake-like coils and stacking/layering them.
- Slab Building: Rolling out flat pieces and assembling them like puzzle parts.
⚙️ Wheel Throwing
- Requires a pottery wheel and refined muscle control
- Ideal for creating symmetrical mugs with smooth curves
- Involves centering the clay, opening it, pulling walls, and shaping the cylinder
Once the main body is formed, it’s time to attach the handle.
🤲 Crafting the Handle
- Shape a coil or slab
- Score and slip both attachment points (scratch and add watery clay)
- Blend and smooth seams for strength
- The handle must be comfortable to hold, aesthetically proportional, and well-balanced
4️⃣ Drying and Trimming
After forming, clay must dry slowly and evenly to reach the leather-hard stage, which feels like firm cheese.
✂️ Trimming
- Refine the mug’s foot or base for stability and elegance
- Smooth out the walls and remove any weight inconsistencies
- Clean and compress the rim for usability
⏳ Note: Uneven drying = cracks. Cover the mug loosely with plastic to slow moisture loss.
5️⃣ Bisque Firing
The first firing, called bisque firing, transforms the mug from fragile clay to durable ceramic.
🔥 Key Steps
- Mug must be bone dry before firing
- Kiln ramp-up temperature slowly to avoid thermal shock
- Fire at approximately 950°C to 1050°C depending on your clay
- This step hardens the clay and prepares the surface for glaze adhesion
🎯 Outcome: Porous yet sturdy surface ready to absorb glaze.
6️⃣ Glazing: Adding Color and Character
Glaze is the magical skin that makes ceramics glossy, matte, textured, or vividly colored.
🧪 Types of Glazes
| Type | Finish | Characteristics |
|---|---|---|
| Glossy | Shiny | Reflective and bright, highlights surface detail |
| Matte | Soft, muted | Earthy and tactile, hides imperfections |
| Crackle | Webbed texture | Aged look, mostly decorative |
| Celadon | Translucent | Subtle depth with iron-rich clay |
🎨 Application Methods
- Dipping: Submerge the mug in glaze for even coating
- Brushing: Paint glaze manually—good for designs
- Pouring: Let glaze flow inside or outside
- Spraying: Offers controlled layering, best for gradients
Before applying glaze, mugs are cleaned to remove dust that could cause blemishes. The bottom (or “foot”) is usually wiped to avoid glaze sticking to kiln shelves.
7️⃣ Glaze Firing
This second kiln session solidifies the glaze and completes your ceramic piece.
🔥 Process Highlights
- Fired at higher temperatures: 1200°C to 1300°C for stoneware and porcelain
- Glaze melts into a glassy coating
- Kiln must cool slowly to avoid cracking or crazing
Some potters experiment with reduction vs. oxidation firing, altering the chemical atmosphere in the kiln to produce unique glaze effects.
🎉 After cooling, your mug emerges as a fully functional piece of art—ready to be held, admired, and used.
8️⃣ Finishing Touches
After final firing:
- Inspect for flaws: drips, pinholes, surface cracks
- Sand the foot if sharp or rough
- If desired, sign the base or add details using overglaze techniques
Some ceramicists photograph their work, document glaze formulas, and even keep mug diaries for consistency and artistic growth.
🧠 Creative Considerations
Beyond technical steps, every mug invites deeper reflection:
- What story does it tell through form and surface?
- How does it feel in the hand, and in daily ritual?
- Can you push aesthetic boundaries while maintaining utility?
Pottery, especially mugs, weaves function with intimacy. Every piece becomes part of someone’s morning routine, an object of comfort or beauty—and that’s the poetic power behind the craft.
🎯 In Conclusion
Creating a ceramic mug is a symphony of steps: selecting clay, shaping with intention, embracing fire, and capturing your unique voice through glaze and design. It’s physical, philosophical, and wonderfully unpredictable. Whether you’re seeking perfection or celebrating imperfection, pottery is where control and chaos co-exist to produce magic.
If you’re working on your image series or need help building a visual storyboard around this process, I’d love to collaborate. Want to explore theme ideas or sketch styles next?


Leave a Reply