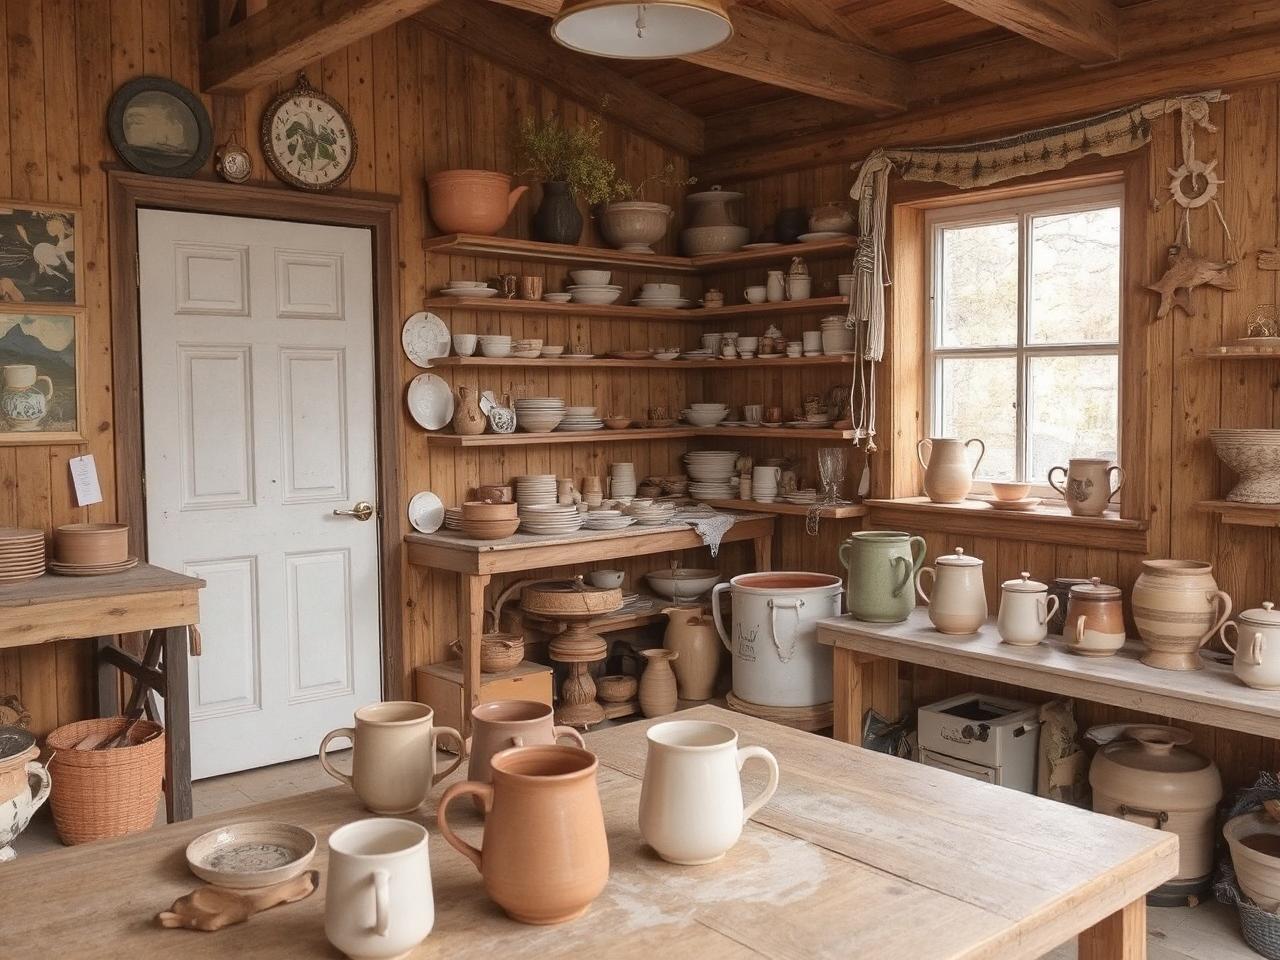
🌟 Introduction: Where Earth Meets Imagination
Pottery is one of the oldest human crafts, yet it’s also one of the most expressive and timeless. What begins as humble clay transforms through fire and creativity into treasured mugs that cradle morning coffee, or ethereal porcelain figures adorning living spaces with elegance. In this article, we’ll trace the enchanting journey from idea to kiln, diving into each stage of crafting handmade ceramic mugs and porcelain artworks.
💡 Section 1: From Inspiration to Ideation
Before hands touch clay, the mind dances with visions. Ideas begin here.
- Sources of Inspiration
- Nature: Leaves, stones, feathers, and sea shells often inform the form and texture.
- Everyday Life: A chipped mug you adore, a memory of Grandma’s floral teacups.
- Cultural Symbols: Japanese raku, Persian miniatures, Roman amphorae.
- Sketching the Vision
- Artists often begin by sketching multiple mug shapes and porcelain concepts.
- Details like handle design, rim curvature, and decorative motifs are mapped out.
- Choosing the Purpose
- Functional (e.g., daily-use mugs) vs. aesthetic (e.g., display-only porcelain figurines).
- This decision informs form, thickness, and even glaze compatibility.
🧱 Section 2: Clay Selection – Earth as Your Medium
The type of clay determines everything: texture, color, firing temperature, and durability.
| Type of Clay | Characteristics | Best Use |
|---|---|---|
| Earthenware | Porous, lower firing temp | Rustic mugs, plant pots |
| Stoneware | Durable, mid-high firing temp | Everyday mugs |
| Porcelain | Fine, white, high firing temp | Decorative pieces |
- Wedging: Kneading the clay to remove air bubbles—critical to avoid explosive disasters in the kiln.
- Storing Clay: Always keep your clay moist and wrapped—dried clay becomes unusable without rehydration.
✋ Section 3: Handbuilding and Wheel Throwing
Now we shape clay with hands, tools, or wheels—here, your touch becomes sculpture.
🌀 Wheel Throwing
- Centering: A meditative process to align clay on the wheel—requires strength and finesse.
- Pulling Walls: Fingers and palms gently guide clay upward to form the mug’s walls.
- Shaping Rim and Base: Precision is key—the rim should be comfortable on lips, base balanced.
👐 Handbuilding
- Pinch Pots: Simple technique where a ball of clay is pinched into shape.
- Slab Building: Flat slabs are cut and joined—ideal for architectural porcelain artworks.
- Coiling: Long clay rolls layered and smoothed—great for artistic textures.
🔪 Section 4: Trimming, Refining, and Adding Character
Once the form is leather-hard (partially dried but still workable), it’s time to finesse.
- Trimming Excess Clay: Using loop tools to refine the base, ensure symmetry.
- Attaching Handles: Scoring and slipping ensures strong adhesion between pieces.
- Carving and Texturing: Adding patterns, indentations, or even personalized messages.
- Underglaze Decoration: Painting color onto the clay before glazing—the ceramics equivalent of watercolor.
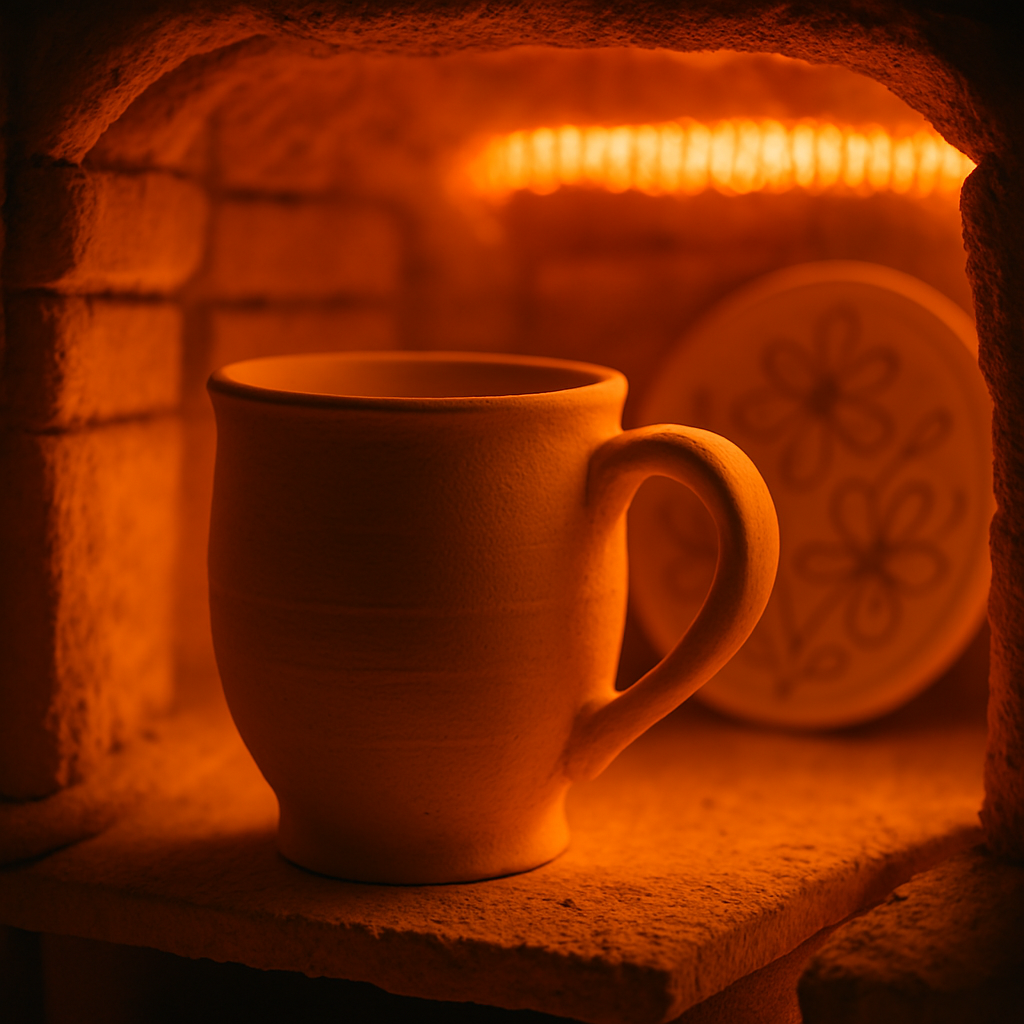
🔥 Section 5: First Firing – The Bisque Transformation
Once dried completely, pieces go into their first kiln firing: the bisque fire.
- Drying Time: Pieces must be bone-dry—any hidden moisture can cause cracks or even explosions.
- Loading the Kiln: Careful spacing prevents heat damage. Supports and stilts keep items upright.
- Bisque Firing Temperatures: Usually around 1,000°C (1,830°F).
- Outcome: The piece becomes hard, white-pinkish, and absorbent—ready for glaze.
🖌️ Section 6: Glazing – Chemistry Meets Art
Here, the magic happens—color, texture, and personality erupt.
- Types of Glaze
- Glossy: Smooth and shiny—great for mugs.
- Matte: Earthy and modern—ideal for porcelain décor.
- Crackle: Intentional hairline textures—adds vintage charm.
- Application Methods
- Dipping: Fast and uniform.
- Brushing: Artistic, suited for small batches or detailed work.
- Spraying: Even application, needs ventilation and precision.
- Glaze Chemistry
- Oxides like cobalt (blue), copper (green), and iron (brown) bring color.
- Transparent vs. opaque glazes affect how underlying artwork shows through.
🌋 Section 7: Final Firing – The Glaze Dance
The second kiln session vitrifies the glaze and sets your piece in ceramic stone.
- Firing Temperatures: Varies by clay and glaze—porcelain often needs over 1,200°C.
- Atmospheric Control: Oxidation vs. reduction changes glaze character dramatically.
- Cooling: Must be gradual—rapid cooling can cause cracks or crazing.
🎁 Section 8: Unloading the Kiln – Revealing the Masterpiece
There’s nothing like the moment you lift that kiln lid.
- Inspecting Results
- Check glaze flow, surface texture, and overall structure.
- Celebrate happy accidents—sometimes firing creates delightful surprises.
- Finishing Touches
- Sanding rough spots, adding felt pads for decorative pieces, or packaging mugs for sale.
🛒 Section 9: Selling, Sharing, and Legacy
Handmade ceramics have soul—and people feel that.
- Etsy and Online Shops: Perfect for independent artists with a personal brand.
- Art Galleries and Craft Fairs: Ideal for intricate porcelain art.
- Gift Giving: Custom mugs and decorative pieces make heartfelt, personal presents.
🧘 Conclusion: Clay as a Path to Presence
Pottery is more than a craft—it’s therapy, storytelling, and intimate connection rolled into one. A mug that fits perfectly in your hand becomes a daily ritual. A porcelain sculpture tucked into a corner becomes a visual whisper of the artist’s soul.
So whether you’re beginning your journey at a community kiln or sketching your next porcelain dragon, know this: every touch, every glaze, every firing is part of a deeper story. Your story.
Leave a Reply